
How to Shade Flowers with Ink Pen - 5 Tips and Tricks
I'm so excited to take you through my step by step tips and tricks for ink pen shading. I've been drawing flowers with ink pen for years and have definitely found some fool proof techniques and supplies that will help take the overwhelm out of your own drawing process.
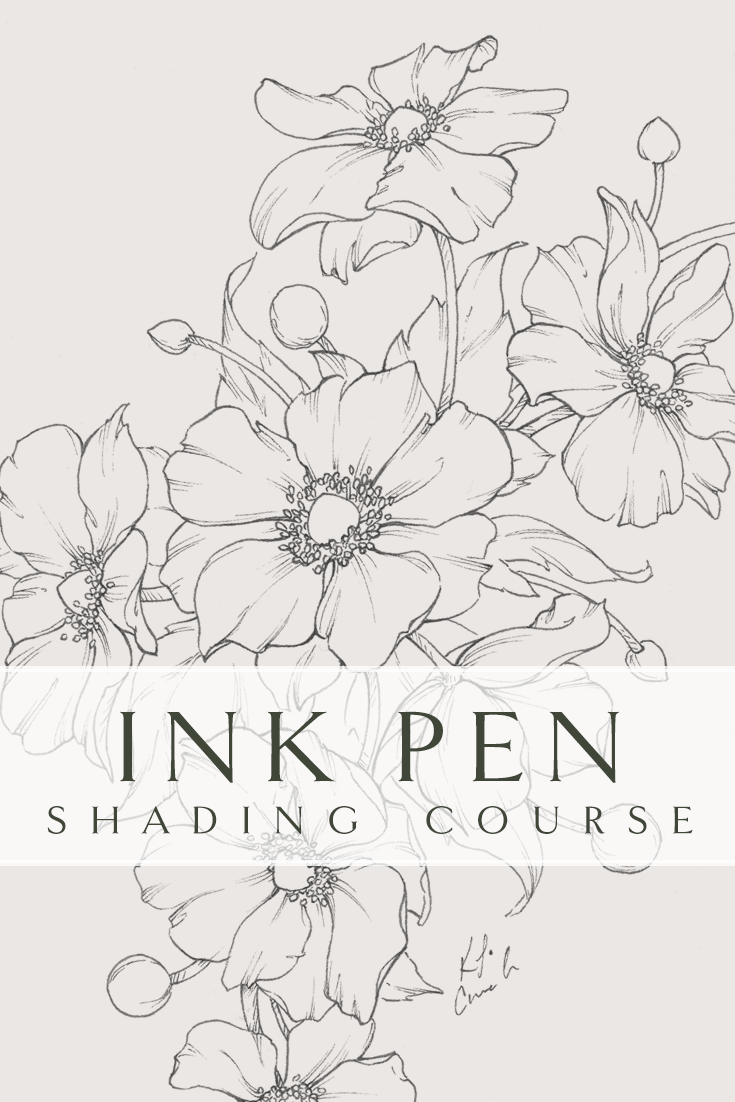
If you’re looking for more help, I'm excited to introduce my new Ink Pen Shading Course, hot off the ol’ editing press!
https://youtu.be/oaMlfPcwlsA
5 Pro Tips for Flower Drawing: https://youtu.be/RxQNyGkLeBA
Ink Pen Shading Course: https://katrinacrouch.com/art-classes/ink-pen-shading-techniques
Pencil more your thing? Check out the Pencil Shading Course: https://katrinacrouch.com/art-classes/pencil-shading-techniques
SUPPLIES :
——may contain affiliate links—thank you for supporting this channel!——
Mixed Media Paper: https://amzn.to/3yQzr7a
Micron 01: https://amzn.to/40dFqiN , https://amzn.to/3FzDOHx
Micron 005: https://amzn.to/42pRSx6
Micron Variety Pack: https://amzn.to/3yQyYlq
Faber-Castell Variety Pack: https://amzn.to/3YWu29l
Uni Pin Variety Pack: https://amzn.to/3Ts1vHt
Staedtler Pigment Liner Variety Pack: https://amzn.to/42kAudg
Tips for Shading Flowers with Pen and Ink:
Work on Smooth Paper:
While this is not everyone’s cup of tea, I find it much easier to shade with ink when I’m using smooth paper. This way I can avoid any skipping of the pen or any bald spots or bumps that throw off my lines. When I’m working with pen and ink for shading flowers, every line carries more “weight” than a single pencil line for a traditional pencil shading. Because there are less ink lines trying to depict the same effect, each one is more important.
I highly recommend and often use Mixed Media Paper. I like that it’s affordable, has a good thickness / weight to it and is a brighter white than some of my other drawing papers, which seem to come in a cream color. Because I typically digitize my ink drawings, it’s important that I have that clean canvas to work on rather than having to edit out the cream color later in post.
Start with a Strong Contour:
As previously mentioned, ink shading consists of less lines and therefore, each and every one is important! One way that your drawing will immediately improve is if you start with a strong contour—or outline—of your subject. If your outline is rough or sloppy, you will have an uphill battle to bring everything back together and “save it” while you’re shading. Having a realistic and beautifully drawn contour line drawing will immediately give you a head start on a beautifully shaded ink flower drawing.
Need help in this area? Take my FREE mini drawing course here
Use Multiple Pen Sizes:
This one may go without saying, but using multiple pen sizes really makes all the difference in your finished product. It’s so easy to capture depth and space by using a smaller pen size vs a larger one, but larger pen sizes are great for capturing the subject and creating emphasis. My rule of thumb is to use the larger pen for the contour (outline) and the areas that need to be shaded super dark, and the lighter/smaller pen for areas that are more delicate and lighter by nature.
“Break In” Your Ink Pens:
What’s worse than a large blot of ink on your artwork?
Not much!
Honestly, I’ve found that all pens do this to some extent—and it makes sense! The manufacturer doesn’t want the pens to run out of ink too early, so they stuff them full! But the down side is that sometimes it’s just a little too full to manage well. Easy fix: break the pens in by doodling a little bit in a sketch book or using the pen to write out your to-do lists for a few days until the ink seems to flow a little more predictably.
Bonus secret: I actually love a semi-dry pen! It skips ever so slightly and leaves more delicate lines, which allows me to give a more subtle shading effect that mimics pencil shading a little more. Not for everyone, but definitely for this girl!
Use a Consistent Light Source:
One of the first things to give away a beginner artist is an inconsistent light source. Make sure all of your shadows are on the same side and all of your highlights point to your light source. If you’re using a good reference image, this shouldn’t be too hard, but if you need a little help remembering where your highlights and shadows should be, use a pencil and draw a little sun in the corner of your paper to help you remember.
Have a Consistent Shading Technique Throughout:
There are so many fun ways to shade your flower drawings with ink. If you’ve explored the various shading techniques, such as hatching, cross hatching, stippling or scribble (to name a few), then you’ve probably seen how much fun each one can be! But to keep the technique from taking over the entire composition, it’s actually best to stick with one, or at MOST two different shading techniques.
When is it okay to use two different techniques? When you want to highlight a specific texture. My favorite example is when you’re highlighting the seeds of a sunflower. While you can continue a hatching technique that you may have used for the petals, how fun would stippling or scribble be in the case of those millions of seeds? It would be a great way to highlight the texture and draw attention to a main feature with little extra work.


